Mushroom Growing: It’s all alien to me!
Discovering a New Hobby: Why Mushroom Growing?
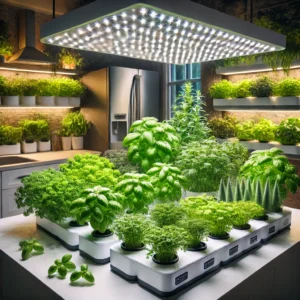
Mushrooms have always fascinated me. Their alien-like qualities and unique growth patterns make them utterly captivating. As someone already immersed in hydroponic gardening, it felt natural to explore the world of mushroom cultivation. After many hours of research and some hands-on experimentation, I’m finally taking a chance and giving mushroom growing an honest try.
This post may contain affiliate links which means I may receive a commission for purchases made through links. Learn more on my Affiliate Disclosure Page.
Starting with Liquid Culture: Creating Our Own Spawn
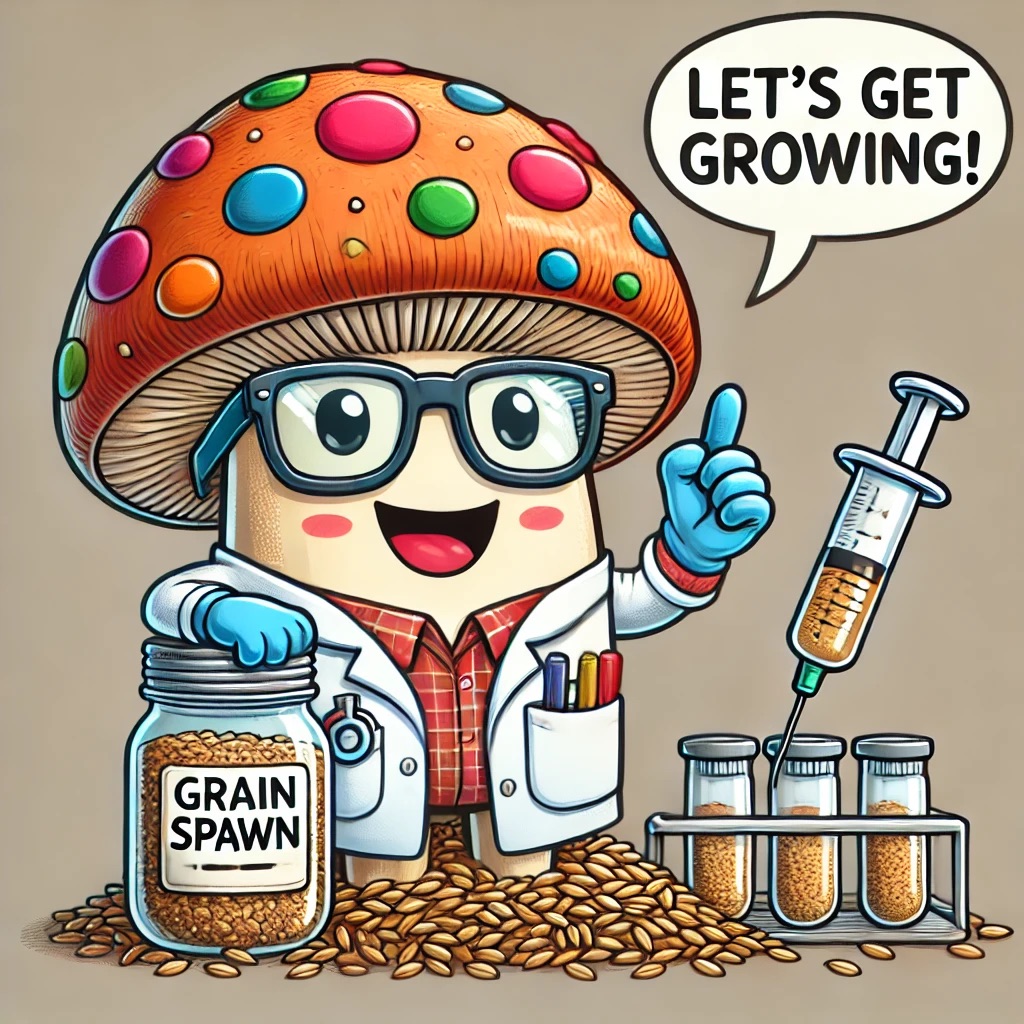
I’ve taken a big step in the mushroom-growing process: inoculating rye grain with liquid cultures to create my own spawn. It’s a method that requires patience, as it takes at least a couple of weeks for the grain to fully colonize.
While waiting, I’m making sure my workspace and supplies are ready for the next stages. The goal is to move smoothly from spawn creation to substrate preparation and fruiting. This extra time has given me the opportunity to reflect on my setup and plan for what’s ahead.
What is Grain Spawn and Why Is It Important for Mushroom Growing?
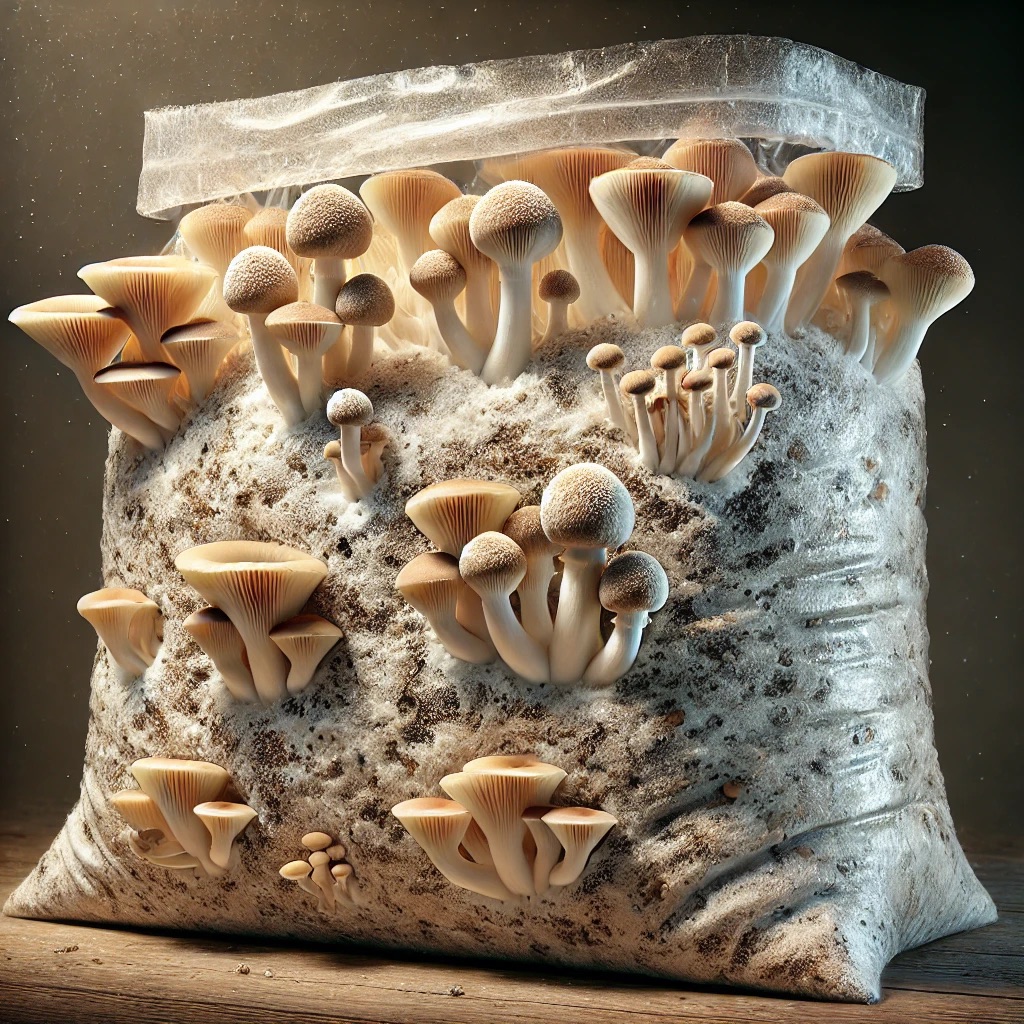
When growing mushrooms, one of the most critical steps is creating what’s known as grain spawn. Grain spawn is essentially sterilized grain (often rye, wheat, or millet) that has been inoculated with mushroom mycelium—the root-like structure of fungi that eventually produces mushrooms. This spawn acts as a “starter culture,” much like sourdough starter in bread-making, allowing the mycelium to spread quickly and efficiently into larger substrates (like sawdust, straw, or coir) where mushrooms will eventually fruit.
Creating grain spawn is important for a few key reasons. First, it provides a clean, nutrient-rich environment where mycelium can establish itself without competition from contaminants. Second, using grain spawn speeds up colonization when introduced to bulk substrates, reducing the time it takes to produce mushrooms. Lastly, it allows growers to expand small amounts of mycelium into much larger batches, making the process cost-effective and scalable—especially when performing techniques like grain-to-grain (G2G) transfers.
Whether you’re buying pre-made spawn or creating it yourself, this stage sets the foundation for healthy growth, strong yields, and successful mushroom cultivation
How I Created My Grain Spawn: Store-Bought Convenience vs. DIY Approach
After learning how important grain spawn is to the mushroom growing process, I decided to dive in using two different methods: the quick-and-easy store-bought option and a more hands-on, DIY approach. Both had their perks, and experimenting with both gave me a better understanding of what works best for me.
1. Using Pre-Purchased Sterilized Rye Bags (The Quick Start to Mushroom Growing)
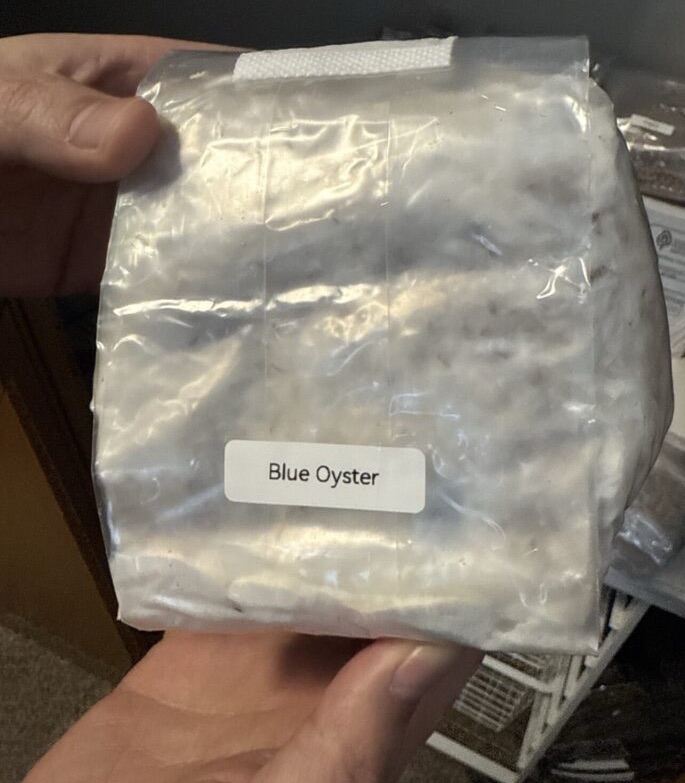
To kick things off, I went with a convenient solution: pre-sterilized rye grain bags from Amazon. These bags came with self-healing injection ports, making it super easy to inoculate without worrying too much about contamination.
Here’s what I did:
• I sanitized my workspace (gloves, mask, the whole shebang—contamination is no joke).
• Using a sterile syringe, I injected 5 cc of liquid culture into each bag.
• I gave the bags a gentle shake to distribute the culture evenly.
• Then, I placed them in a warm, dark spot (around 68–72°F) and waited.
Within a few days, I started seeing white mycelium spreading through the rye. It was honestly exciting to watch! Full colonization took about 2–3 weeks, and just like that, I had my first batch of grain spawn ready to go. This method was a great way to get started—it’s quick, beginner-friendly, and required minimal equipment.
2. Making My Own Grain Spawn with Mason Jars (Going DIY)
While the pre-made bags were convenient, I wanted to get my hands a little dirtier (well, metaphorically) and try making my own grain spawn. Not only is it more cost-effective in the long run, but I also wanted to learn the process firsthand.
Here’s how I did it:
- I started by measuring 1 cup of dry rye grain for each quart-sized mason jar.
- I soaked the rye overnight to hydrate it fully.
- The next day, I drained the grains and spread them out on a clean towel to dry just enough so they wouldn’t be too wet. (This part is crucial—too much moisture can lead to clumping or contamination.)
- Once the grains reached the right consistency, I loaded them into the jars.
- I added a small amount of gypsum to prevent clumping and keep the grains nice and separated.
- For the lids, I used ones I grabbed from Amazon that have self-healing injection ports—super convenient! I also covered the lids with a bit of aluminum foil as an extra precaution during sterilization.
- I sterilized the jars in my 23-quart pressure cooker at 15 PSI for 90 minutes and let them cool completely overnight.
- Once cooled, I took the fully colonized grain spawn from my store-bought bags and performed a grain-to-grain (G2G) transfer into my jars. This step is a game-changer—it allows you to multiply your spawn supply from just a small amount.
- After shaking the jars to distribute the grain evenly, I placed them back in the incubation area. Full colonization in the jars took about two weeks, which was faster than the initial liquid culture process.


Final Thoughts
Exploring both methods gave me valuable insight. The pre-purchased rye bags were a fantastic way to start quickly with minimal setup. On the other hand, making my own grain spawn was incredibly rewarding—not to mention, it’s more cost-effective if you plan on growing mushrooms regularly. Plus, there’s something satisfying about being more hands-on with the process.
Whether you’re just starting out or looking to expand your spawn supply, both approaches have their place. If you want a quick win, grab the store-bought bags. But if you’re up for a bit of DIY and want to save money down the line, making your own spawn is definitely worth it.
Share Your Wisdom!
Have you tried growing mushrooms or know someone who has? Are we on the right track? I’d love to hear your advice or tips for a successful grow!
If you’re interested in learning alongside me, sign up for my G6’rs group. For a limited time, I’m offering a free lifetime membership to help others start their own mushroom-growing journeys.
Let’s explore this fascinating world together—one flush at a time!
Stay tuned for updates on my progress, lessons learned, and tips for building your own mushroom-growing setup. Don’t forget to subscribe for more gardening, tech, and foodie content!